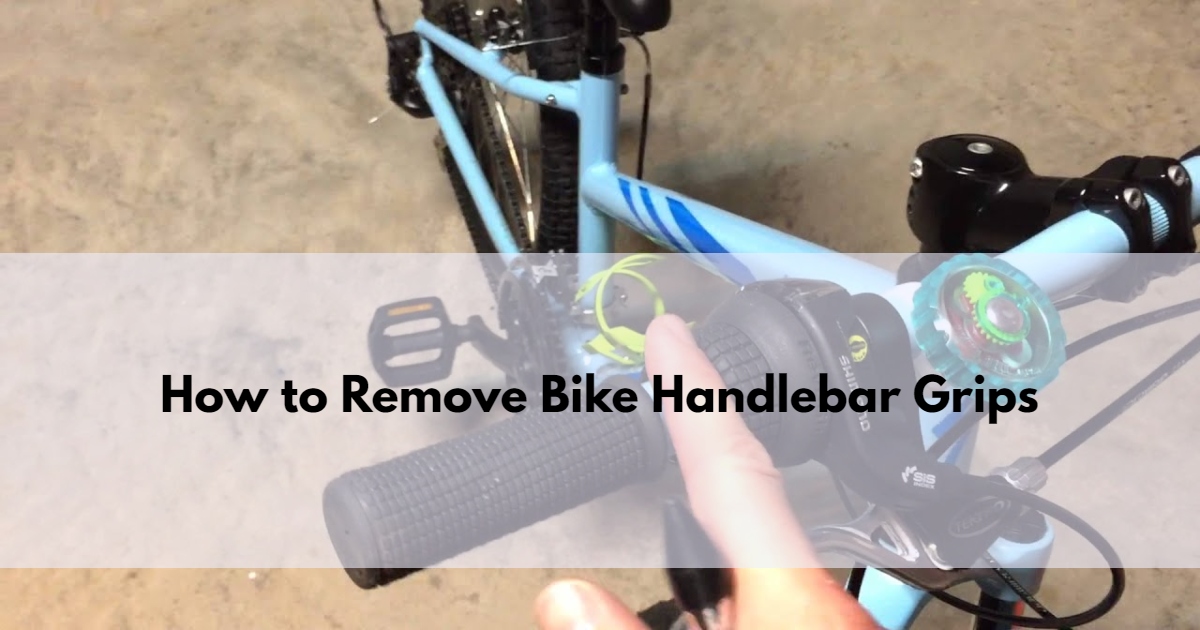
Bike enthusiasts and casual riders alike often face the challenge of worn, sticky, or damaged handlebar grips. These issues not only compromise the look of your bicycle but also affect its functionality and your comfort during rides. The task of removing old handlebar grips may seem daunting, but with the right guidance, it’s a manageable DIY project. This comprehensive guide will walk you through the process of removing bike handlebar grips, detailing both methods – with and without the use of an air compressor.
Why Remove Bike Handlebar Grips?
To Replace Worn or Damaged Grips: Regular use, exposure to elements, or accidental damage can lead to the deterioration of your bike handlebar grips. Worn-out grips can result in reduced comfort and grip, impacting your biking experience. Replacing these grips is super important for maintaining optimal control and safety while riding.
To Install New Grips with Different Features: Cycling preferences evolve, and so do the accessories on your bike. You might be looking to upgrade to grips that offer better ergonomics, such as lock-on grips or those with a unique texture. Alternatively, you might be integrating grips with built-in shifters or brake levers, necessitating the removal of the existing ones.
To Clean or Lubricate Handlebars: Over time, handlebars can accumulate grime and residue, which can affect the overall performance of your bike. Removing the grips provides an opportunity to thoroughly clean and lubricate the handlebars, making sure smooth operation and prolonging the life of your bike’s components.
Tools and Materials Needed
Before embarking on the task of removing your bike handlebar grips, it’s super important to gather the right tools and materials. Here’s what you’ll need:
- A flathead screwdriver or a pry bar – These tools are vital for loosening and prying the grips from the handlebars.
- A rubber mallet (optional) – This can be helpful in dislodging grips that are particularly stubborn.
- Rubbing alcohol or hairspray (optional) – These substances can act as lubricants, making the removal process smoother.
- An air compressor (optional) – If you can access one, an air compressor can significantly ease the removal process, especially for tight or adhered grips.
How to Remove Bike Handlebar Grips Without an Air Compressor
This section will help you figure out the process of removing bike handlebar grips without the use of an air compressor. This method is ideal for those who don’t have access to specialized tools and prefer a more manual approach.
- Remove the Bar End Plugs: Start by removing the bar end plugs located at the ends of your handlebars. These can often be pried out by hand, but if they’re particularly stubborn, use a flathead screwdriver to gently lever them out.
- Loosen the Grips: Insert the flat end of a screwdriver or the edge of a pry bar between the grip and the handlebar. Carefully pry the grip away from the handlebar, working your way around to loosen it evenly. This step requires patience and gentle force to avoid damaging the handlebars or the grip itself.
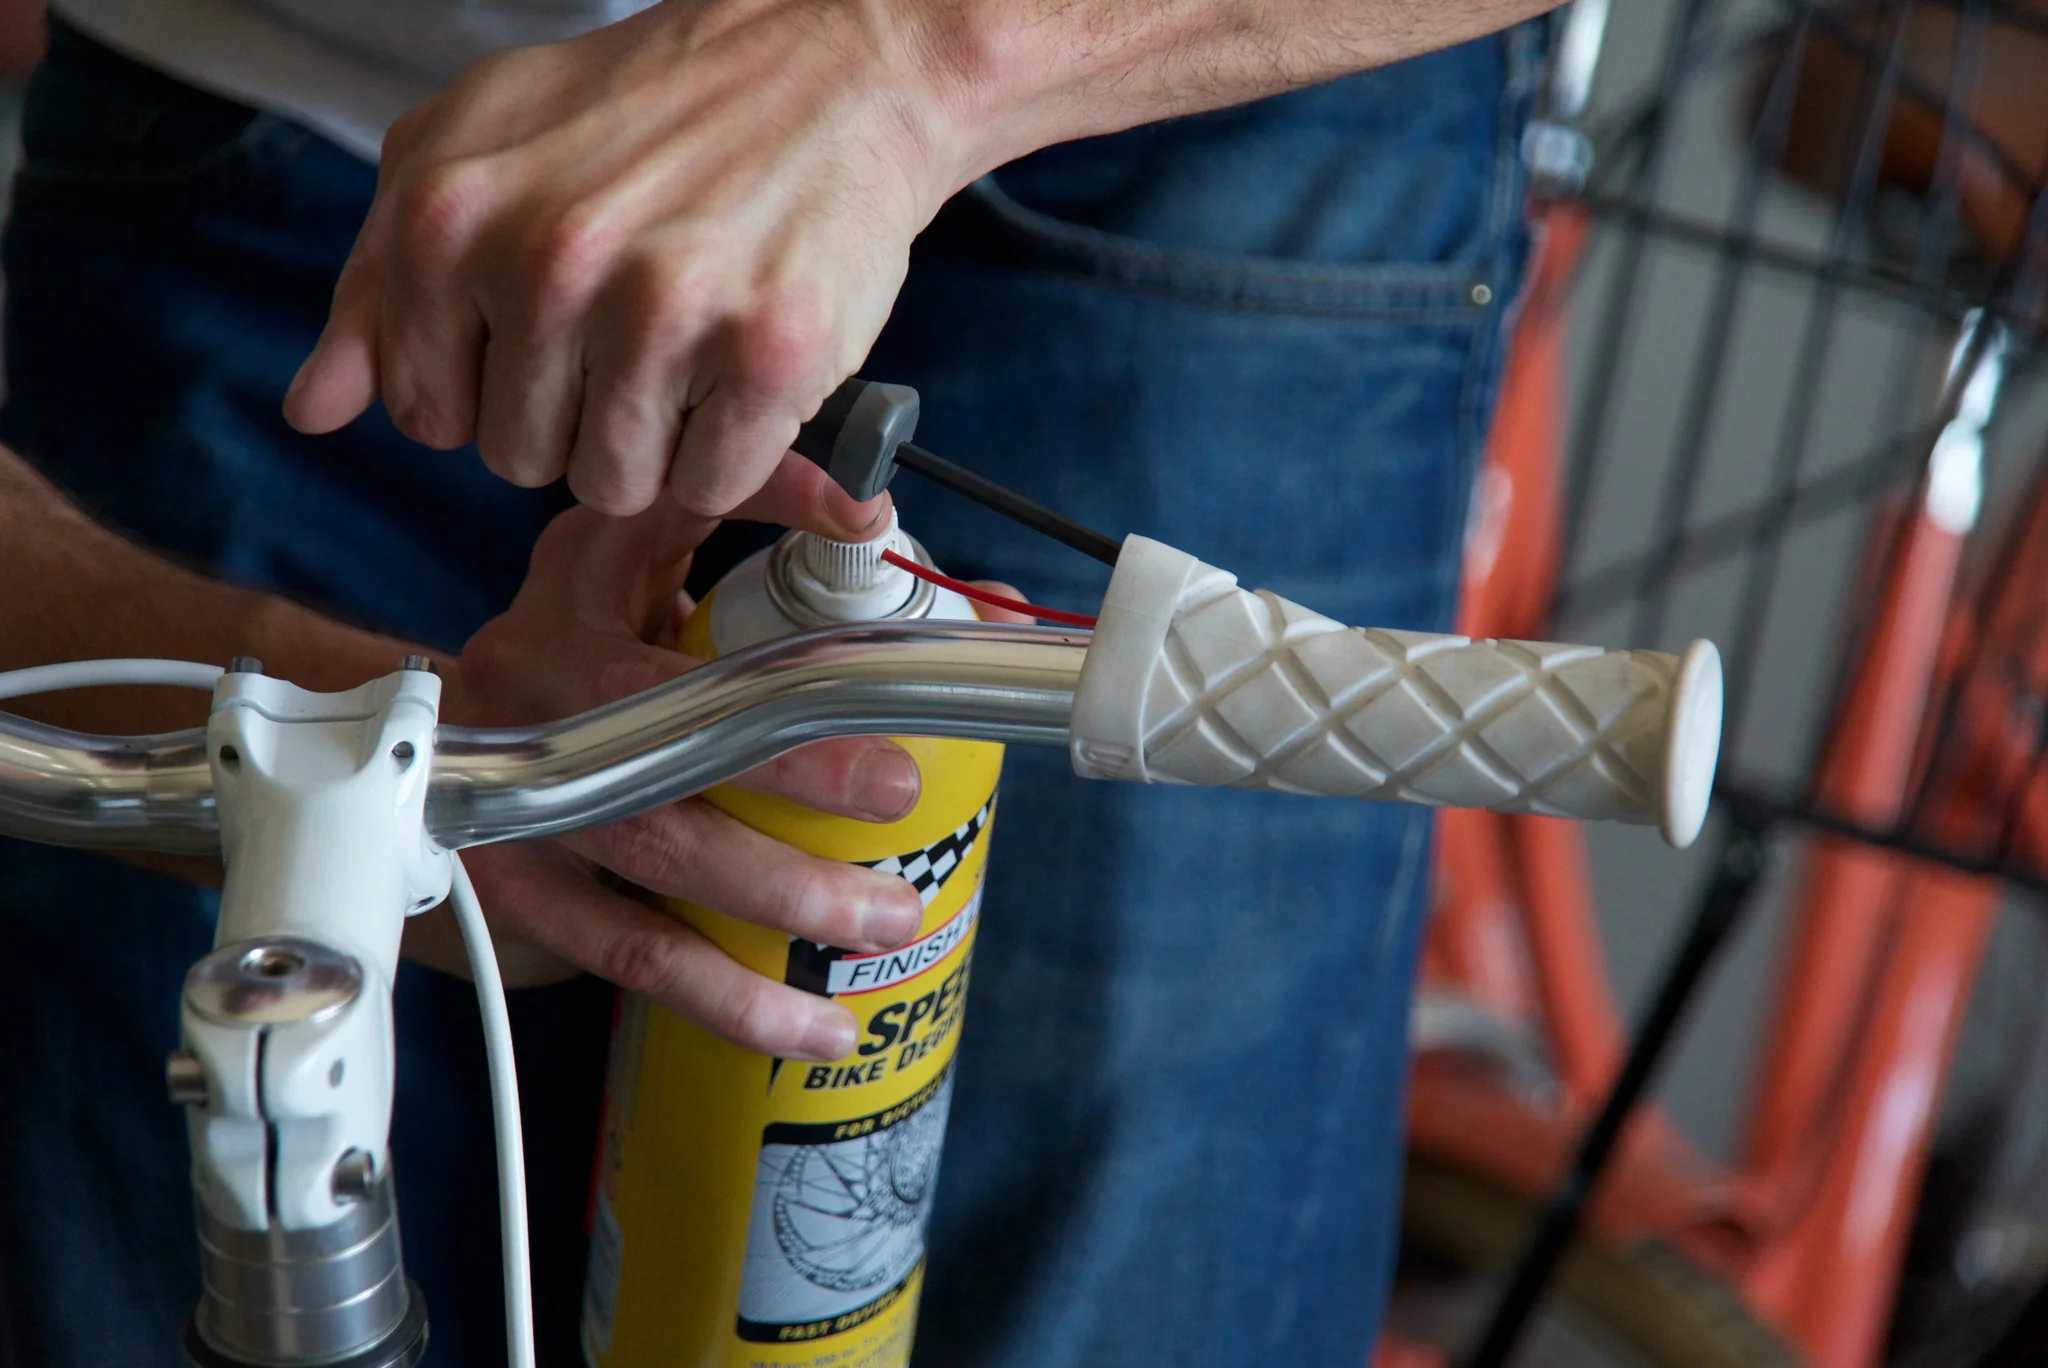
- Apply Lubricant (Optional): If the grips are proving difficult to remove, apply a small amount of rubbing alcohol or hairspray between the grip and the handlebar. This will act as a lubricant, making it easier to slide the grip off. Allow a few moments for the lubricant to seep in and loosen the grip.
- Twist and Pull the Grips Off: Once the grips are sufficiently loosened, twist them to break any remaining adhesion, and then pull them off the handlebars. In some cases, you may need to use a rubber mallet to tap the grips gently from the end to start the removal process.
How to Remove Bike Handlebar Grips With an Air Compressor
If you have access to an air compressor, removing bike handlebar grips becomes a breeze. Here’s how to do it:
1. Remove the Bar End Plugs
As with the previous method, start by removing the bar end plugs from the ends of your handlebars. These can usually be taken out by hand or with a flathead screwdriver if they’re tightly fitted.
2. Insert the Air Compressor Nozzle
Carefully place the nozzle of your air compressor under the grip. Ensure that the nozzle is inserted as far as it can go to maximize the air pressure exerted underneath the grip.
3. Activate the Air Compressor
Turn on the air compressor. The air pressure will cause the grip to expand slightly, loosening its grip on the handlebar.
4. Remove the Grip
With the grip loosened by the air, twist and pull it off the handlebar. The added air pressure usually makes this process much smoother and quicker than manual removal.
Using an air compressor is especially useful for tight grips or when you want to avoid potential damage from prying tools.
Cleaning and Lubricating Your Handlebars
After removing the old grips, it’s a perfect opportunity to clean and maintain your handlebars:
- Clean the Handlebars: Use a damp cloth to wipe off any accumulated dirt, grime, or old adhesive. This step is super important for making sure that your handlebars are in the best condition to receive new grips.
- Lubricate: Apply a light coat of grease or silicone lubricant to the handlebars. This not only prevents rust and corrosion but also makes the installation of new grips smoother.
Proper cleaning and lubrication are super important for maintaining the integrity and functionality of your bike’s handlebars.
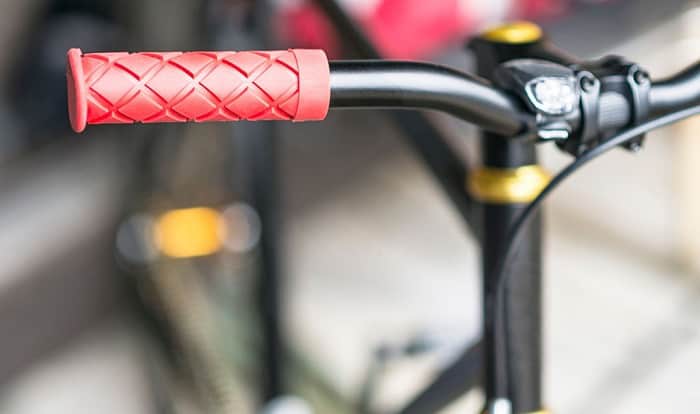
Installing New Handlebar Grips
With your handlebars clean and prepped, it’s time to install your new grips:
- Read the Instructions: Different grips might come with specific installation instructions. Make sure to read these carefully.
- Apply Adhesive if Required: Some grips require adhesive or hairspray to be applied inside them before installation. This helps in securing the grip to the handlebar.
- Slide On the New Grips: Align the grips with the handlebars and slide them on. Ensure they are snug and properly aligned.
- Allow to Dry: If you’ve used an adhesive, allow sufficient time for it to dry before using the bike.
Installing new grips can significantly improve your riding experience, providing better grip, comfort, and control.
Conclusion
Removing and replacing bike handlebar grips is a straightforward task that can be accomplished with or without specialized tools like an air compressor. By following the steps outlined in this guide, you can easily remove your old grips and install new ones, enhancing both the comfort and functionality of your bike. Regular maintenance, including grip replacement, is key to enjoying a safe and smooth biking experience.
For more cycling tips, tricks, and gear, visit our homepage at Refried Cycles.