Welcome to our comprehensive guide on how to fix loose handlebars on a bike. Loose handlebars are not just an inconvenience; they’re a serious safety concern. Riding with handlebars that aren’t firmly secured can lead to a loss of control, making it super important to address this issue immediately. This post will delve into various methods to tackle this problem, making sure your bike is safe and ready for your next ride.
Table of Contents
ToggleIdentifying the Cause of Loose Handlebars
Understanding the Root of the Problem
The first step in solving the issue of loose handlebars is identifying what’s causing them to loosen. Several factors could be at play:
- Loose Stem Bolts: The stem is the super important component that connects your handlebars to the fork. If the bolts securing the stem are not tight enough, your handlebars will move around.
- Loose Headset Bolts: The headset is what enables your handlebars to turn smoothly. Loose headset bolts can result in excessive movement or ‘play’ in the handlebars.
- Worn Out Stem or Headset Bearings: Bearings play a really key role in movement and stability. If these are worn out, they fail to maintain the handlebars’ position effectively.
- Damaged Handlebars: Physical damage to the handlebars themselves can also lead to loosening.
By pinpointing the exact cause, you can apply the most effective solution to fix the issue.
Inspecting Your Bike
Here’s how you can check each of these components:
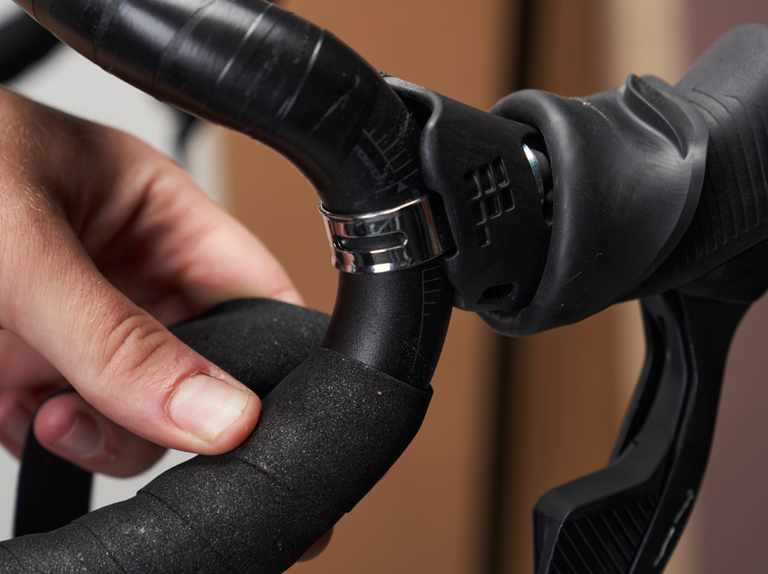
- Examine the stem bolts for any visible loosening.
- Check the headset by gently wiggling the handlebars and feeling for any play.
- Inspect the bearings for wear and tear or grinding noises.
- Look for any physical damage to the handlebars, such as bends or cracks.
Once the cause is identified, you’re ready to move on to the fixing stage.
Fixing Loose Stem Bolts
Securing the Connection
Loose stem bolts are one of the more straightforward issues to resolve. You will need a torque wrench for this task. It’s important to note that the appropriate torque setting can vary based on your bike’s model, so consult your owner’s manual for specifics.
Step-by-Step Guide:
- Loosen the Brake Lever Clamps: This step is super important to avoid any damage or misalignment when adjusting the stem bolts.
- Tightening the Stem Bolts: Using the torque wrench, tighten the stem bolts to the manufacturer’s recommended setting. This ensures a secure and safe fit.
- Re-tightening the Brake Lever Clamps: Once the stem bolts are tightened, make sure to re-secure the brake lever clamps.
This simple procedure can significantly improve the stability of your handlebars, enhancing the safety of your ride.
Fixing Loose Headset Bolts
Ensuring Smooth and Stable Steering
If your bike’s issue lies with loose headset bolts, addressing it promptly is key to maintaining control and stability. This fix requires a specific tool: a headset wrench. As with stem bolts, the recommended torque for headset bolts varies, so refer to your bike’s manual for the correct settings.
Detailed Procedure:
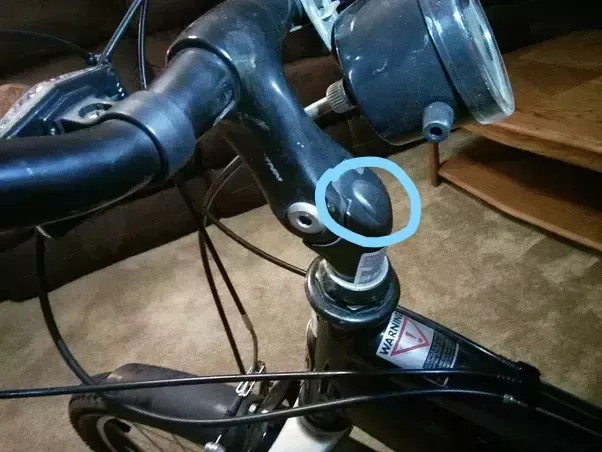
- Loosen the Top Cap of the Headset: Begin by loosening the top cap to access the headset bolts. This cap usually sits at the top of the headset assembly.
- Tighten the Headset Bolts: Use the headset wrench to tighten these bolts to the recommended torque. This action will reduce any play in the handlebars and ensure they turn smoothly.
- Securing the Top Cap: After tightening the bolts, don’t forget to re-tighten the top cap of the headset. This step is super important to maintain the adjustments you’ve just made.
By following these steps, you can effectively eliminate looseness in the headset, making sure a safer and more enjoyable riding experience.
Replacing Worn Out Stem or Headset Bearings
Sometimes, the problem with loose handlebars goes beyond just tightening bolts. Worn out stem or headset bearings require a more hands-on approach. Due to the complexity of this repair, it’s often best to seek the assistance of a qualified bike mechanic.
When to Consider Replacement:
- Frequent Loosening: If your handlebars continue to loosen after multiple adjustments, it could be a sign of worn bearings.
- Unusual Noises or Resistance: Grinding sounds or resistance when turning the handlebars are telltale signs of bearing issues.
The Replacement Process:
- Diagnosis by a Professional: Have a bike mechanic assess the condition of your stem and headset bearings.
- Choosing the Right Bearings: If replacement is needed, ensure that the new bearings are compatible with your bike model.
- Professional Installation: A skilled mechanic will replace the bearings, making sure they are correctly installed and adjusted.
This repair can really improve the performance of your bike, making it a worthwhile investment for serious cyclists.
Repairing Damaged Handlebars
In cases where the handlebars themselves are damaged, you have a couple of options. Minor damage might be repairable, but severe damage often necessitates a replacement.
Assessing the Damage:
- Minor Bends or Scratches: These can sometimes be repaired, depending on the material of your handlebars.
- Major Damage: Significant bends, cracks, or breaks in the handlebars typically require a replacement for safety reasons.
Repair or Replacement:
- Consult a Professional: A bike mechanic can advise on whether repair is feasible or if replacement is the safer option.
- Selecting New Handlebars: If replacement is necessary, consider the type of riding you do and choose handlebars that suit your needs.
- Professional Installation: Have the new or repaired handlebars installed professionally to ensure they are properly aligned and secured.
That concludes the first 1000 words of your blog post. I’ll proceed with the next 1000 words in the following message.
Continuing with the next 1000 words of your blog post:
Preventing Loose Handlebars
The best strategy to avoid the hassle of fixing loose handlebars is to prevent them from loosening in the first place. Regular maintenance and careful riding can significantly reduce the likelihood of this issue.
Routine Checks and Adjustments:
- Regular Inspections: Periodically inspect your bike, focusing on the handlebars, stem, and headset for any signs of loosening.
- Proper Torque Settings: Use a torque wrench to ensure all bolts are tightened to the manufacturer’s specifications. This is super important after any adjustments or repairs.
- Professional Servicing: Have your bike serviced regularly by a professional. They can spot issues that might not be obvious to the untrained eye.
Riding Tips:
- Avoid Rough Terrain: Constant jarring from rough terrain can loosen components over time. Stick to smoother paths if possible.
- Gentle Handling: Avoid putting excessive force on the handlebars. Smooth, controlled movements are better for the bike’s longevity.
By following these preventative measures, you can keep your handlebars secure and your rides safe.
Conclusion
Loose handlebars on a bike can pose a significant safety risk, but with the right knowledge and tools, they are a manageable problem. We’ve explored various causes and solutions, from tightening bolts to replacing damaged components. Remember, if you’re ever in doubt or face a complex issue, don’t hesitate to consult a professional bike mechanic.
For more insightful tips and guides on maintaining your bike, visit our homepage at Refried Cycles. Stay safe and enjoy your ride!