Biking is not just a mode of transportation; it’s a passion for many. However, safety always comes first, and the most super important aspect of biking safety is undoubtedly the helmet. A helmet that’s too large can slip off, and one that’s too small can be uncomfortable and ineffective. That’s where the significance of accurately measuring for a bike helmet comes into play. This guide is designed to walk you through each step of measuring your head for a bike helmet, choosing the right size, and making sure it fits perfectly for maximum protection.
Step 1: Measure Your Head Circumference
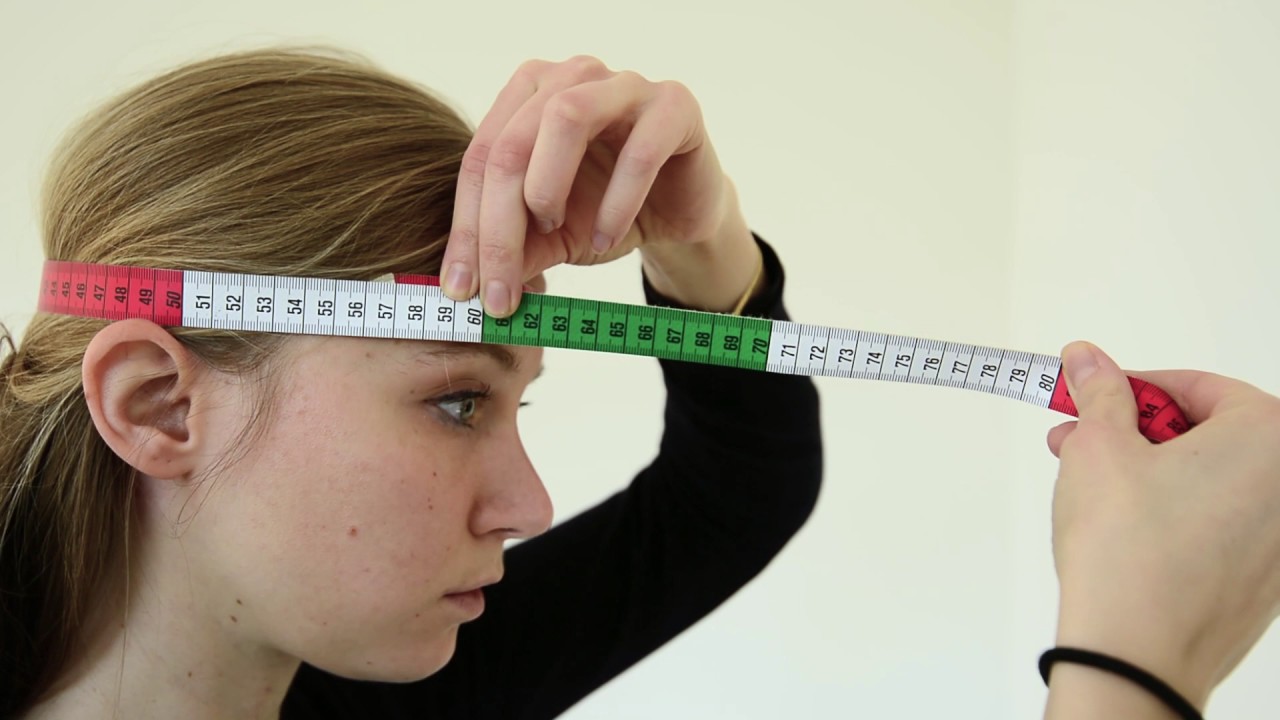
Measuring your head is the foundational step in finding the perfect bike helmet. It’s a simple process, but accuracy is key. Your head circumference is the distance around the largest part of your head, typically just above your eyebrows and ears.
- Required Tools: All you need is a flexible tape measure.
- Measurement Process: Wrap the tape measure around your head, making sure it’s level from the front to the back. It should be snug but not too tight. The correct measurement will provide a baseline for choosing the right helmet size.
- Recording the Measurement: Write down your measurement in centimeters for the most precise sizing.
Tip: If you don’t have a flexible tape measure, use a string and then measure the string with a ruler.
Step 2: Choose the Right Helmet Size
With your head circumference in hand, you’re now ready to select the appropriate helmet size. Helmet sizes typically range from extra small to extra large. Here’s a quick reference chart:
- Helmet Size Chart:
Head Circumference (cm) Helmet Size Below 51 Extra Small 51-55 Small 55-59 Medium 59-63 Large Above 63 Extra Large
Note: Helmet sizes can vary between brands, so it’s super important to try on a helmet before making a purchase.
Step 3: Adjust the Helmet for a Proper Fit
Choosing the right size is just the beginning. Adjusting your helmet for a proper fit is equally important for making sure safety and comfort.
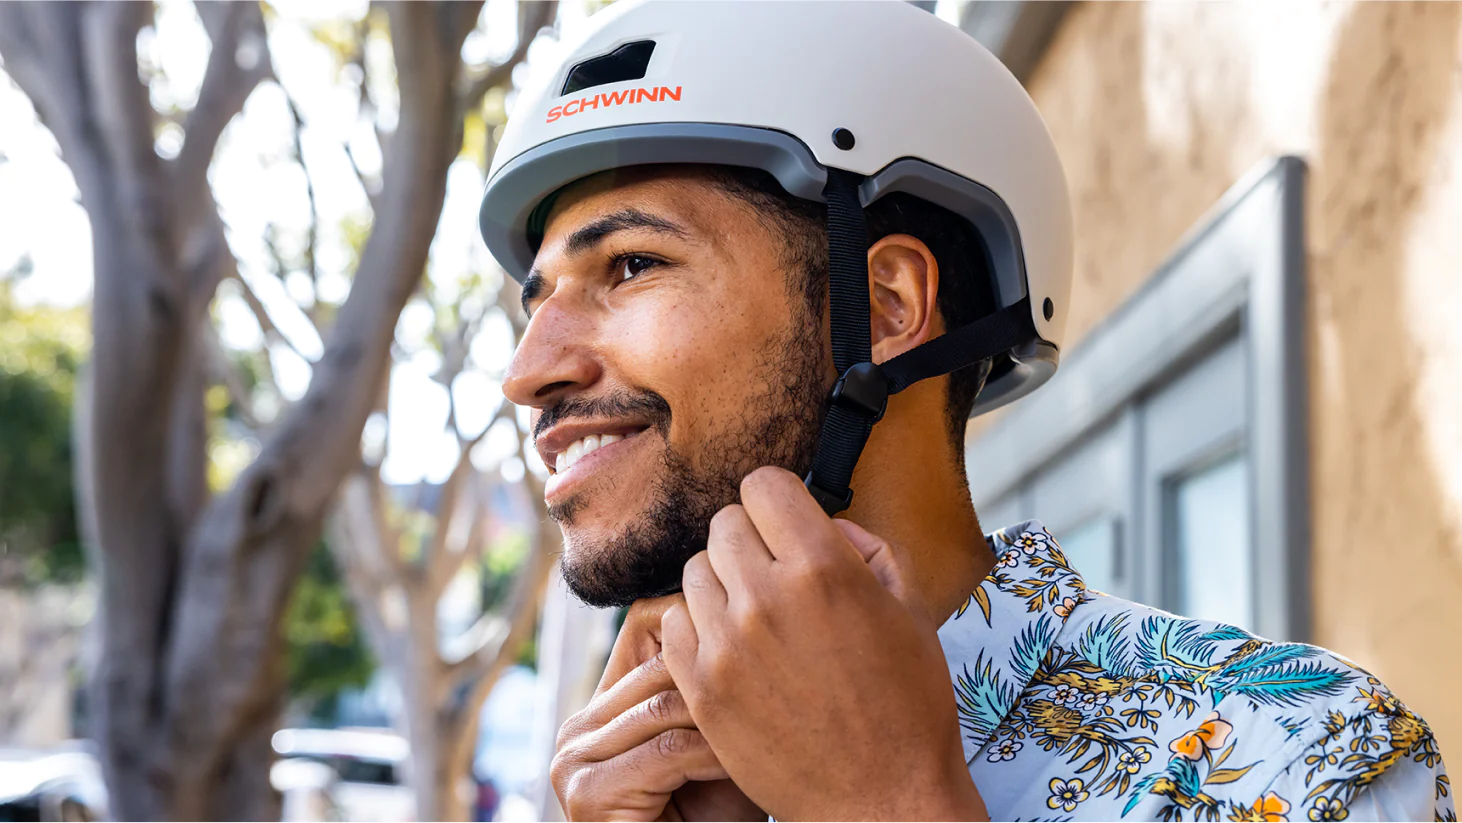
- Positioning: The helmet should sit level on your head, just above your eyebrows and ears. It shouldn’t tilt back or slide forward.
- Strap Adjustment: Adjust the straps so they form a ‘V’ under your ears. They should be snug but not overly tight. A good rule of thumb is to ensure you can fit two fingers between your chin and the strap.
- Retention System: Most helmets have a dial or buckle at the back. Adjust it until the helmet feels snug but comfortable. There should be no excessive movement when you shake your head.
Tip: Always double-check the fit. A well-adjusted helmet can significantly reduce the risk of injury in the event of an accident.
Step 4: Testing Helmet Safety Standards
Safety should be your top priority, and making sure your helmet meets certain safety standards is super important. Here are key standards to look for:
- Certification Labels: Look for labels like CPSC, ASTM, or EN1078, indicating the helmet meets safety standards set by these organizations.
- Crash Replacement Policy: Some manufacturers offer a crash replacement policy, providing a free or discounted replacement if your helmet is damaged in a crash.
Tip: A certified helmet might cost more, but it’s a worthwhile investment for your safety.
Step 5: Care and Maintenance of Your Bike Helmet
To ensure your helmet continues to provide optimal protection, proper care and maintenance are super important.
- Cleaning: Regular cleaning is necessary. Use mild soap and water to clean the helmet. Avoid harsh chemicals.
- Storage: Store your helmet in a cool, dry place away from direct sunlight.
- Inspection: Regularly inspect your helmet for any signs of wear and tear. Look for cracks, dents, or fraying straps.
Tip: Replace your helmet every 3-5 years, or immediately if it’s involved in a crash, even if there’s no visible damage.
Choosing the Right Bike Helmet: More Than Just Size
Once you’ve measured and found a helmet that fits, there are additional factors to consider making sure you have the best helmet for your needs.
- Helmet Types: Understand the difference between road and mountain bike helmets. Road helmets are designed for aerodynamics and speed and are generally lighter. Mountain bike helmets, on the other hand, offer more coverage and protection, designed to withstand rough terrain.
- Features to Look For: Modern helmets come with various features like visors, built-in lights, and advanced safety technologies such as MIPS (Multi-directional Impact Protection System). MIPS helmets are designed to protect against rotational forces during an impact.
- Ventilation: Adequate ventilation is vital for comfort, especially on long rides or in warm climates. Look for helmets with sufficient air channels.
- Weight: A lighter helmet can reduce neck fatigue, especially on longer rides. However, don’t compromise on safety for the sake of weight.
Conclusion
A well-fitting, high-quality bike helmet is a critical investment in your safety. By following this comprehensive guide on how to measure for a bike helmet, you can ride with confidence, knowing you’re well-protected. Remember, the right helmet can be the difference between a minor and a major injury in an accident. For more information and to explore a variety of bike helmets, visit Refried Cycles, your one-stop destination for all biking needs.