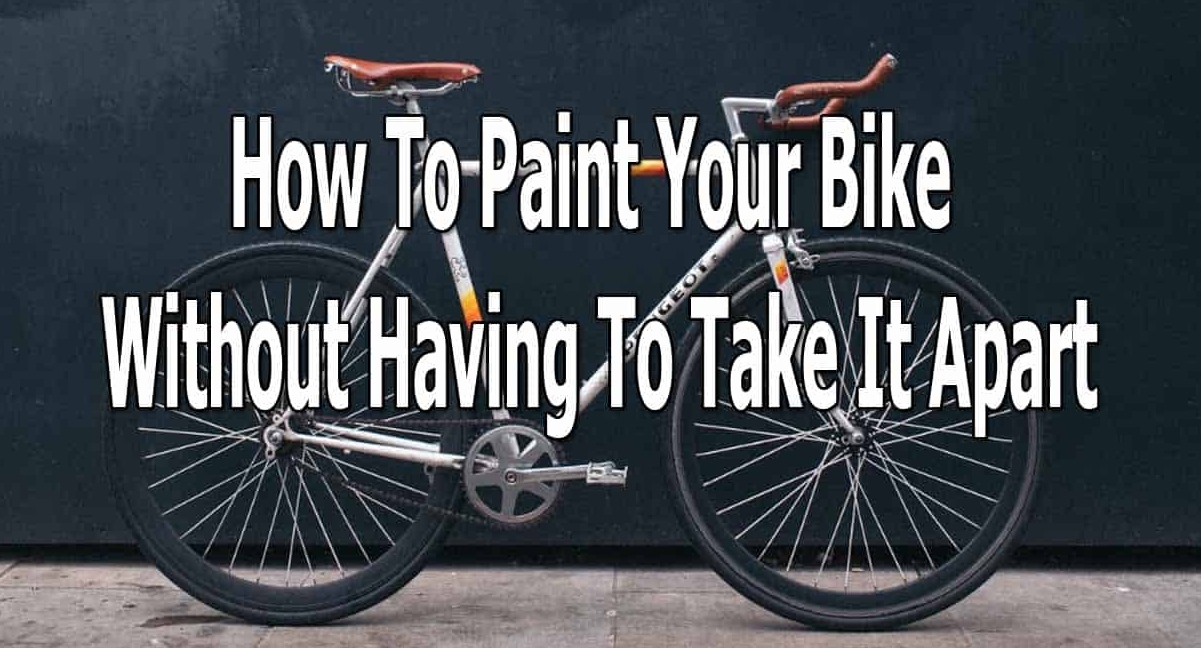
Your bike is more than just a mode of transportation; it’s an extension of your personality. But with time, even the most cherished bikes start showing their age. The vibrant color fades, the gloss diminishes, and before you know it, your once-beautiful bike looks like a relic from the past. You might think that giving your bike a fresh coat of paint requires a full disassembly, but that’s not the case. This guide is here to show you how to breathe new life into your bike without the hassle of taking it apart. By following these simple steps, you can transform your bike’s appearance while keeping its parts intact.
Preparation – Setting the Stage for a New Look
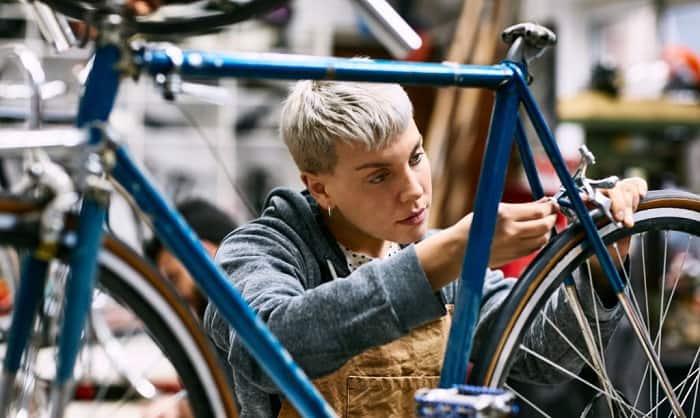
The key to a successful paint job is in the preparation. Start by giving your bike a thorough clean. This isn’t just a quick wipe-down; it means meticulously removing dirt, grease, and grime from every nook and cranny. A mild detergent and water should do the trick. Avoid harsh chemicals that could damage the bike’s existing finish. Once your bike is squeaky clean, it’s time to address any flaking or peeling paint. Use sandpaper or a wire brush for this task, being careful not to scratch the underlying metal. The goal is to create a smooth surface for the new paint to adhere to.
Masking – Protecting the Essentials
With your bike cleaned and prepped, the next step is masking. This is a super important stage where you protect the parts of the bike that you don’t want to paint, like the tires, saddle, handles, and drivetrain. Precision is key here. Use quality painter’s tape to cover these areas thoroughly. It’s a bit time-consuming, but patience pays off. Ensuring that these areas are properly masked will keep them paint-free and make the entire painting process smoother and more efficient.
Primer – Laying the Foundation
Before you dive into painting, applying a primer is a must, especially if you’re working with bare metal. Primer serves as the base coat, making sure better paint adhesion and providing an extra layer of protection against elements like rust. When choosing a primer, look for one that’s specifically designed for metal surfaces. Apply the primer evenly, using either a spray can or a brush. If you’re using a spray can, maintain a consistent distance from the bike to avoid drips and ensure even coverage. Let the primer dry completely before moving on to the actual painting process.
Paint – Bringing Color to Life
Now comes the exciting part – painting! Whether you’ve chosen a vibrant color to stand out or a classic hue for a timeless look, the method is super important. For spray paint users, keep the can about 12 inches away from the frame and spray in a steady, back-and-forth motion. Aim for multiple light coats rather than a single heavy one, as this prevents drips and ensures a more even coverage. If you prefer using a brush, select a high-quality one suitable for metal surfaces. Brush on the paint in thin, even layers, being mindful of leaving no streaks. Allow each coat to dry thoroughly before applying the next. This patience will pay off in a smooth, professional-looking finish.
Clear Coat – Sealing the Deal
After the paint has dried, it’s time to apply the clear coat. This step is vital for protecting your paint job from scratches, UV rays, and the elements. The clear coat also adds a glossy sheen, enhancing the color’s vibrancy. Similar to applying the primer and paint, you can use a spray can or brush for the clear coat. Apply it in thin, even layers, making sure complete coverage of the painted areas. Allow ample time for the clear coat to dry. This might take longer than the paint, but it’s a super important step to ensure longevity and durability of your paint job.
Finishing Touches – The Final Flourish
With the clear coat dry, you’re almost at the finish line. Carefully remove the masking tape, revealing the crisp lines of your paint job. If you had any decals on your bike, now is the time to replace them. You might also want to apply a layer of wax to the painted surfaces. This not only adds an extra layer of protection but also brings out a brilliant shine. Lastly, give your bike a once-over, tightening any loose bolts and adjusting the brakes or seat if needed. These small adjustments ensure your bike is not just visually appealing but also safe and comfortable to ride.
Conclusion
Congratulations! You’ve successfully repainted your bike without the hassle of disassembling it. This project not only rejuvenates your bike but also allows you to infuse personal style into it. Remember, the key to a lasting paint job is in the preparation and patience during each step. For more tips on bike maintenance and customization, be sure to visit our homepage at Refried Cycles. Whether you’re an experienced cyclist or a casual rider, our website offers a wealth of resources to help you make the most of your biking experience. Happy cycling!