Welcome to the world of cycling, where the thrill of the ride meets the satisfaction of self-maintenance. One of the most common issues riders face is a slipped bike chain, especially with the derailleur, the heart of gear shifting. Fear not, as this comprehensive guide will teach you how to put your bike chain back on the derailleur with ease and confidence. Whether you’re a seasoned cyclist or a beginner, mastering this skill will enhance your cycling experience and ensure you’re never left stranded. So, grab your tools and let’s embark on this journey together!
Before You Begin: Gather Your Tools
Before tackling the task, it’s super important to have the right tools in your arsenal. A well-prepared cyclist is halfway to success, and here’s what you’ll need:
- Bike Stand: A bike stand is more than a convenience; it’s a game-changer. By elevating your bike, it provides a stable and accessible platform for all your maintenance work.
- Chain Tool: The unsung hero of bike maintenance, a chain tool is super important for reconnecting the chain after threading it around the derailleur. Don’t overlook this tool!
- Lube: A smooth chain is a happy chain. Lube reduces friction, making sure your chain glides effortlessly across gears and extends its life.
- Rags: Always keep rags handy. They’re perfect for cleaning your hands, wiping spills, and maintaining a tidy workspace.
- A Spare Chain (Optional): Sometimes, a chain is beyond a quick fix. Having a spare chain can save the day if your current one is damaged beyond repair.
Step-by-Step Guide: Putting Your Chain Back on the Derailleur
Now that you have your tools ready, it’s time to dive into the main event. Follow these steps carefully, and you’ll have your chain back on the derailleur in no time.
- Prepare Your Workspace: First things first, elevate your bike using a stand or turn it upside down. This accessibility is super important for a smooth process. Position the bike in the highest gear (smallest cog) at the rear and the smallest chainring in the front. This setup provides maximum slack in the chain, making your task easier.
- Locate the Chain Break: The key to fixing the chain is finding where it broke. Look for a missing pin or a master link with a clip – these are tell-tale signs of the break point.
- Remove the Chain: Now, it’s time to get hands-on. Use your chain tool to press the pin out or open the master link clip. This action will split the chain into two sections, allowing you to work on it effectively.
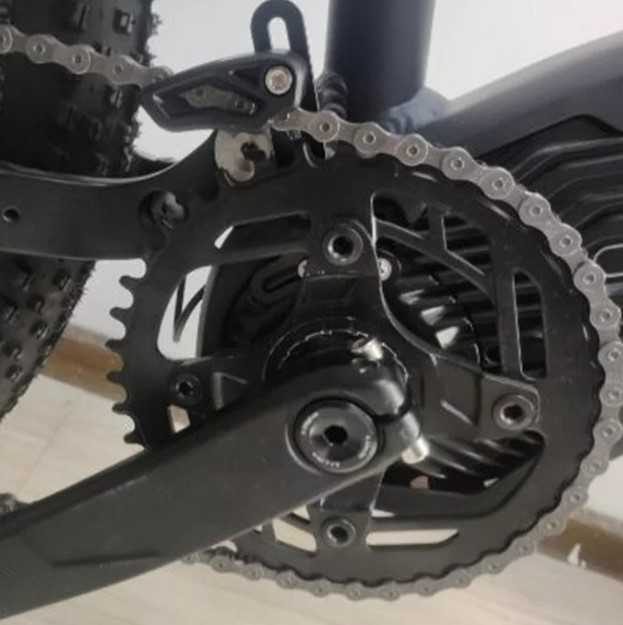
- Thread the Chain Through the Derailleur: Start with the ‘female’ end of the chain (the end without a pin) and loop it around the bottom pulley of the derailleur. Then, guide it up and around the top pulley. The chain should form a smooth, straight, backwards “S-shape” as it passes through the derailleur.
- Connect the Chain Ends: With the chain threaded, it’s time to reconnect. Use your chain tool to insert a new pin or close the master link clip, uniting the two sections of the chain. Ensure the pin is fully inserted and the clip is securely engaged.
- Check the Chain Tension: Once the chain is connected, assess its tension. Ideally, there should be about 1/2 to 1 inch of play between the chain and the chainring. If the chain feels too tight, loosen the barrel adjuster on the derailleur cable. Conversely, if it’s too loose, tighten the barrel adjuster.
- Shift Through the Gears: The true test of your handiwork is shifting. Pedal and shift through all gears to confirm smooth transitions and listen for any excessive chain noise. This step is super important for making sure your ride will be safe and enjoyable.
- Lubricate the Chain: After adjusting the chain, it’s time to lubricate. Generously apply chain lube to both the inner and outer links. Allow the lube to penetrate the links before wiping off any excess. This step not only enhances performance but also prolongs the life of your chain.
- Test Ride: Your bike is almost ready to hit the road. Take it for a test ride to ensure everything is functioning as it should. Pay attention to any unusual noises or sensations that might indicate a need for further adjustment.
Additional Tips for Success
- Remember the Chain’s Path: Before removing the chain, it’s wise to take a picture or note its routing through the derailleur. This reference will be invaluable when re-threading the chain.
- Keep the Chain Clean: Regular cleaning of your chain with a proper degreaser and lubricant can significantly extend its life and improve your riding experience.
- Avoid Forcing the Chain: If threading the chain seems unusually difficult, don’t force it. Double-check the routing and make sure everything is aligned correctly.
- Seek Professional Help When Needed: If any step of the process seems unclear or daunting, don’t hesitate to consult a qualified bicycle mechanic. It’s better to seek help than to risk damaging your bike.
Congratulations! You’ve just navigated through the super important steps of putting a bike chain back on a derailleur. This skill is not just about fixing a common issue; it’s about empowering yourself as a cyclist. With practice, this process becomes a straightforward and rewarding part of bike maintenance.
Remember, the key to a smoothly running drivetrain is regular maintenance. Regularly cleaning and lubricating your chain will prevent wear and tear and keep your rides smooth and enjoyable. Also, don’t forget to visually inspect your chain and derailleur periodically for signs of wear or damage.
If you ever find yourself in doubt or facing a particularly challenging repair, don’t hesitate to reach out to professionals. Visit Refried Cycles for expert advice, quality parts, and all your cycling needs. Their team of experienced mechanics and cycling enthusiasts can provide the guidance and support you need.
In closing, mastering the art of putting a bike chain back on a derailleur is a valuable skill that enhances your cycling experience and independence. Embrace this knowledge, share it with fellow cyclists, and most importantly, enjoy every moment on your bike.
Happy cycling!